Have you always wanted to play the clarinet, but have no idea where to start? Syos is here to help. We have put together a few tips and tricks to give you all the knowledge you need to start off on the right foot. This article aims to teach you all you need to know to create a good embouchure, an efficient air column and to actually start playing.
What is the clarinet made of?
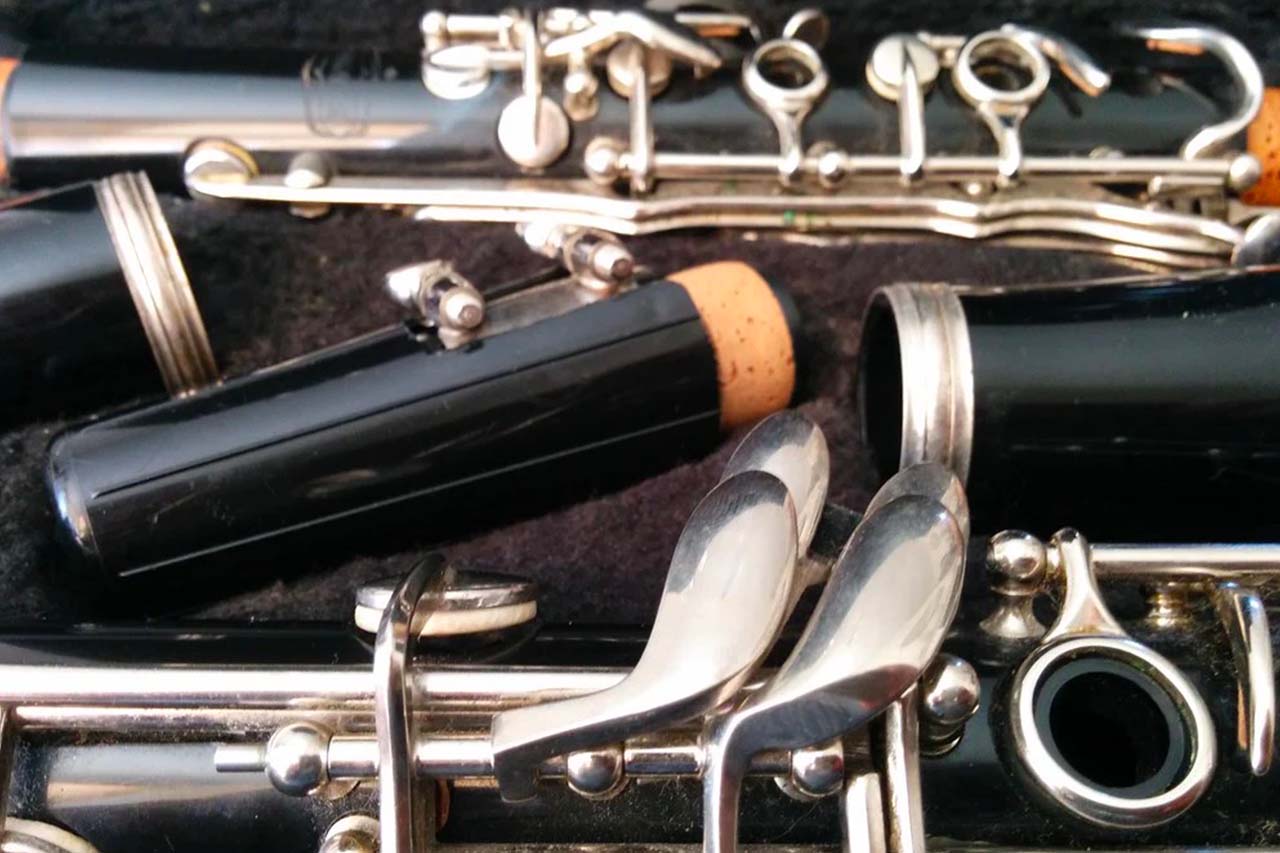
The B Flat (or Bb) clarinet is the most widely used of the clarinet family. It is made up of several parts: the mouthpiece, the barrel, the upper and lower bodies, and the bell. A reed is added to the mouthpiece and is held in place with a ligature. It is the vibration of the reed that produces sound, just as with the saxophone.
There are clarinets other than the Bb, which come in different sizes. Some have a body made of only one part, while others are divided into several pieces. In this article, we will focus on the Bb clarinet, since imost common beginners clarinet.

The most important parts of the clarinet are the mouthpiece (and reed) in which the musician blows air, as well as the key system which allows you to play the notes.
How to make a sound?
The clarinet is a wind instrument, which means one has to blow through the mouthpiece to produce a sound. The term embouchure refers to the way the musician positions their mouth in an optimal way around the mouthpiece to get a stable and full sound. The most common embouchure technique is called the single-lip: the reed is placed on the lower lip, which covers the teeth. Then, the top teeth are placed on the beak of the mouthpiece. Once the latter is secured in place (careful not to squeeze), close your upper lip around it, to create a good seal.
Once you're ready, it's time to blow air into the mouthpiece! Relax your shoulders, take a deep breath, and, while keeping your embouchure stable, blow. The air should simply travel through the clarinet, which is why you should not clench the mouthpiece and reed!
Your airflow must also be as stable as possible. To help achieve this, your intake of air must be deep, and you should aim to exhale from the very bottom of your lungs.
The air column is the flow of air coming from your lungs and going all the way to the clarinet’s bell. This air flow must be stable and consistent, which is why it is important to keep the upper part of your body as stable possible. You will need to “push with your belly” (look up abdominal breathing and diaphragm on Google if you wish to learn more about this). Keep in mind to have your mouth closed tightly around your mouthpiece, to avoid any air leaking out.

Let’s play now!
Now that you know how to make a sound come out of your clarinet, you need to learn how to make it sing!

The instrument has 24 holes, which are closed by triggering keys with 9 fingers (since the right hand thumb is supporting the clarinet). The upper body consists of 9 keys: 2 on top, 6 at the bottom, and one at the back of the instrument, called the 12th key. This key allows you to go 12 notes higher, to play in the higher register. In addition to the keys, there are 3 rings, which have the same function, as well as a free hole. The lower body consists of 8 keys: 3 on top, a small one in the middle, and 4 at the bottom, as well as 3 rings. In total, there are 17 keys and 6 rings, plus one hole.
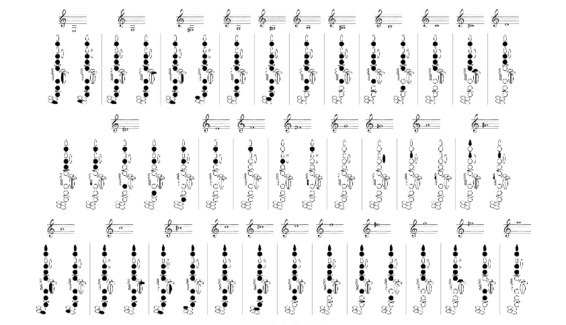
To start with, it is better to develop a good sound and to feel comfortable in the lower register before having a go at the high notes. The first notes you will play will probably be a G (without blocking any hole), F (with only your left thumb), E (adding the index finger), D (now the middle finger), and C (with the ring finger). Then, you can start practicing with the right hand, before going on to play the additional keys with your pinky fingers. A good chromatic fingering chart will be your best friend when developing those skills.
In order to familiarize yourself with the embouchure and fingering of the clarinet, try building your own simplified version with a piece of hose in which you can pierce holes to make everything a little simpler. This is the technique Vincent Lochet uses to teach clarinet to his youngest students. We got to ask him a few questions about this method:
-
Where did this idea come from?
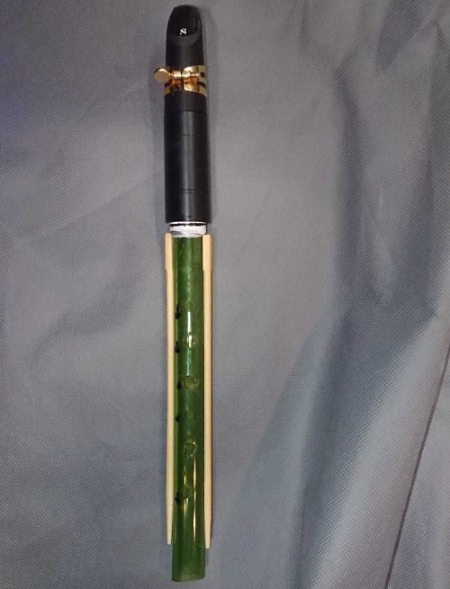
Many artists have already built clarinets out of practically anything (check out the carrot clarinet video on the web), and some musicians have pushed the concept of “wild lutherie” quite far.
So I decided to try it out myself, just for fun at first, and when I heard the sound that came out of those plastic tubes, I thought it was worth spending some time on. I realized there might be an educational side to this, especially for really young students.
-
What is the upside of using this method with regards to teaching the clarinet?
The advantages are manifold:
- The base material is quite cheap. You can get a meter of it for €3,50! Building the clarinet itself might take some time at first, but you will perfect the technique as time goes by. It also means that I can start teaching children as a group, even the youngest ones, because I don’t have to worry that a clarinet might break.
- It is really light, which makes it easier for kids to handle.
- It is still a clarinet: I put a mouthpiece and a reed at one end of it.
It allows them to learn the technical basics (embouchure, breathing, sound production, detachment, nuances, etc.) on an instrument that is much less complex than a real clarinet. They have more time to focus on what’s essential, and to start developing a healthy and happy relationship with the instrument from the get-go.

We start with hoses that are not pierced, thus only produce one tone. By giving different lengths of hose to different students, we can play polyphonies and polyrhythms from the start, which gives an essential technical and musical basis: rhythm! Each student only has one sound to produce, but they have to know where (and when!) to play, and we directly address notions of pulse, active listening, playing with others, breathing in time, etc. If it were to be an individual class, the hose clarinet would appear less interesting to me, but it works wonders in groups.
The instruments evolve as the year progresses (I add holes to them) to end with a complete major scale. The next step is to start working on a “real” clarinet.
-
Thank you for your insight! To round it all up, could you tell us a bit about your career?
My musical journey is quite the academic one: I studied at the conservatory as a kid, then ended my biology studies early to focus on music, and slowly got diplomas in both teaching and interpreting from different conservatories. I taught music theory and later on clarinet in many conservatories around Paris while developing my own artistic activity. It is quite varied: from chamber music to jazz ensemble, to orchestra, and even a rock group with heavy punk influences. I love playing a variety of repertoires. I like to improvise in jazz as much as I enjoy studying great classical pieces.
The clarinet is the ideal instrument for this: it can shine in a Mozart or Brahms piece, swing with Benny Goodman, be charming and suave in Turkish music, or even represent laughter and tears in Klezmer… It is a multi-facetted instrument, and one life is not enough to explore the many works it has inspired.
Many thanks to Vincent Lochet for his help in the writing of this article.

